Heating systems from WarmlyYours, with manufacturer design and technical support.
Designed for your property
Every project starts with a layout based on your surface, size and goals.
Qualified trades, coordinated
Electricians and surface contractors, coordinated from design to commissioning.
Residential and commercial
Driveways, walkways, steps, ramps and commercial entrances.
See how it works
Heating elements in the surface, a sensor and a controller work together, so the system responds to snow without anyone switching it on.
Image: WarmlyYours
Snow starts to fall and the surface is cold. Nothing is running yet.
A sensor picks up the moisture and temperature conditions that mean snow or ice is forming.
The controller switches on the heating elements. Nobody has to be home or lift a finger.
Heat spreads up through the surface, warming it so snow melts instead of building up.
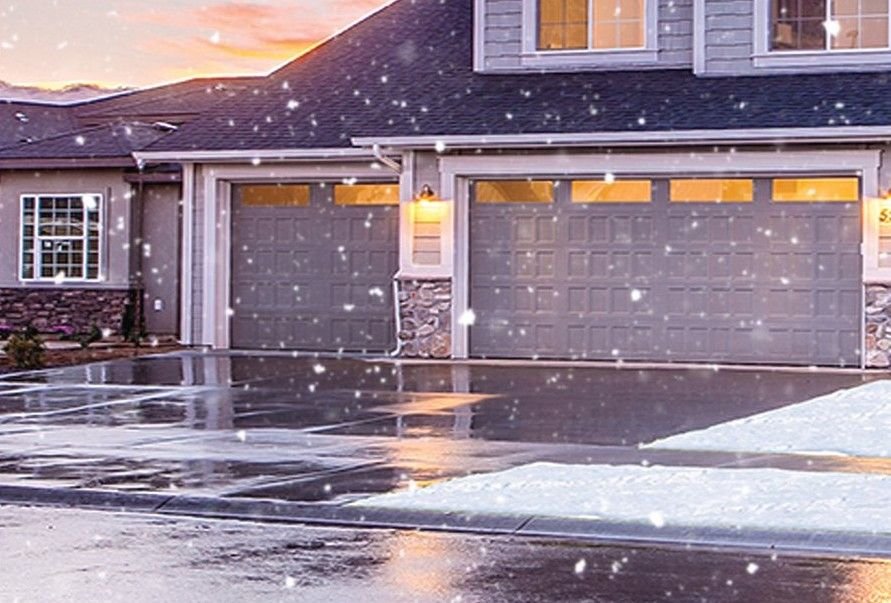
Snow and ice melt and the meltwater drains off the surface. The path stays clear.
The controls keep the system running long enough to clear remaining moisture, then shut it down. Exact after-run depends on how your controls are set up.
SensorController
Heating elements
Components shown are WarmlyYours products. Your design confirms which ones your project uses.
Heating elements, controls and sensors from WarmlyYours, designed into a system for your project.
01
Heating layer
Installed in or beneath the surface
Heating mat
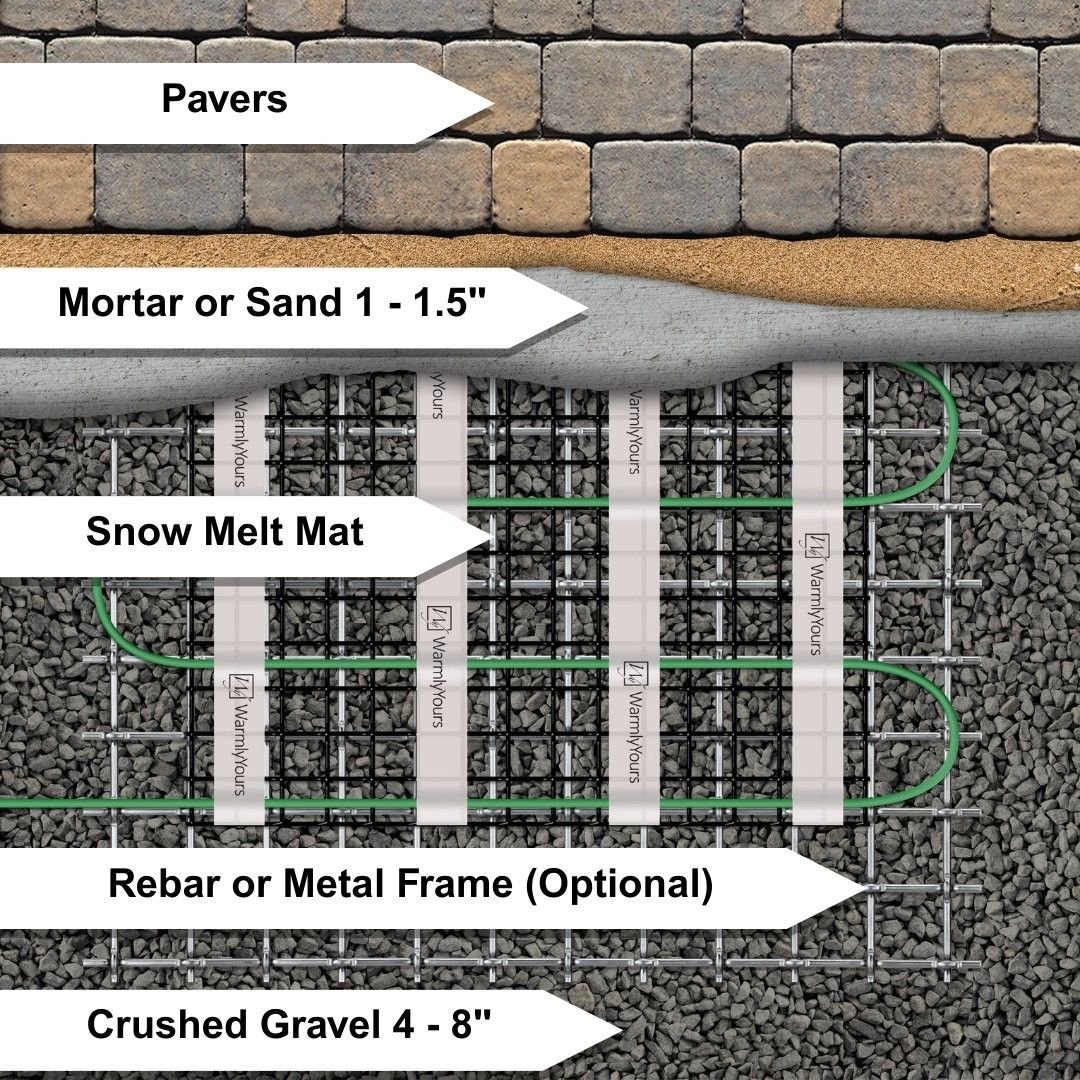
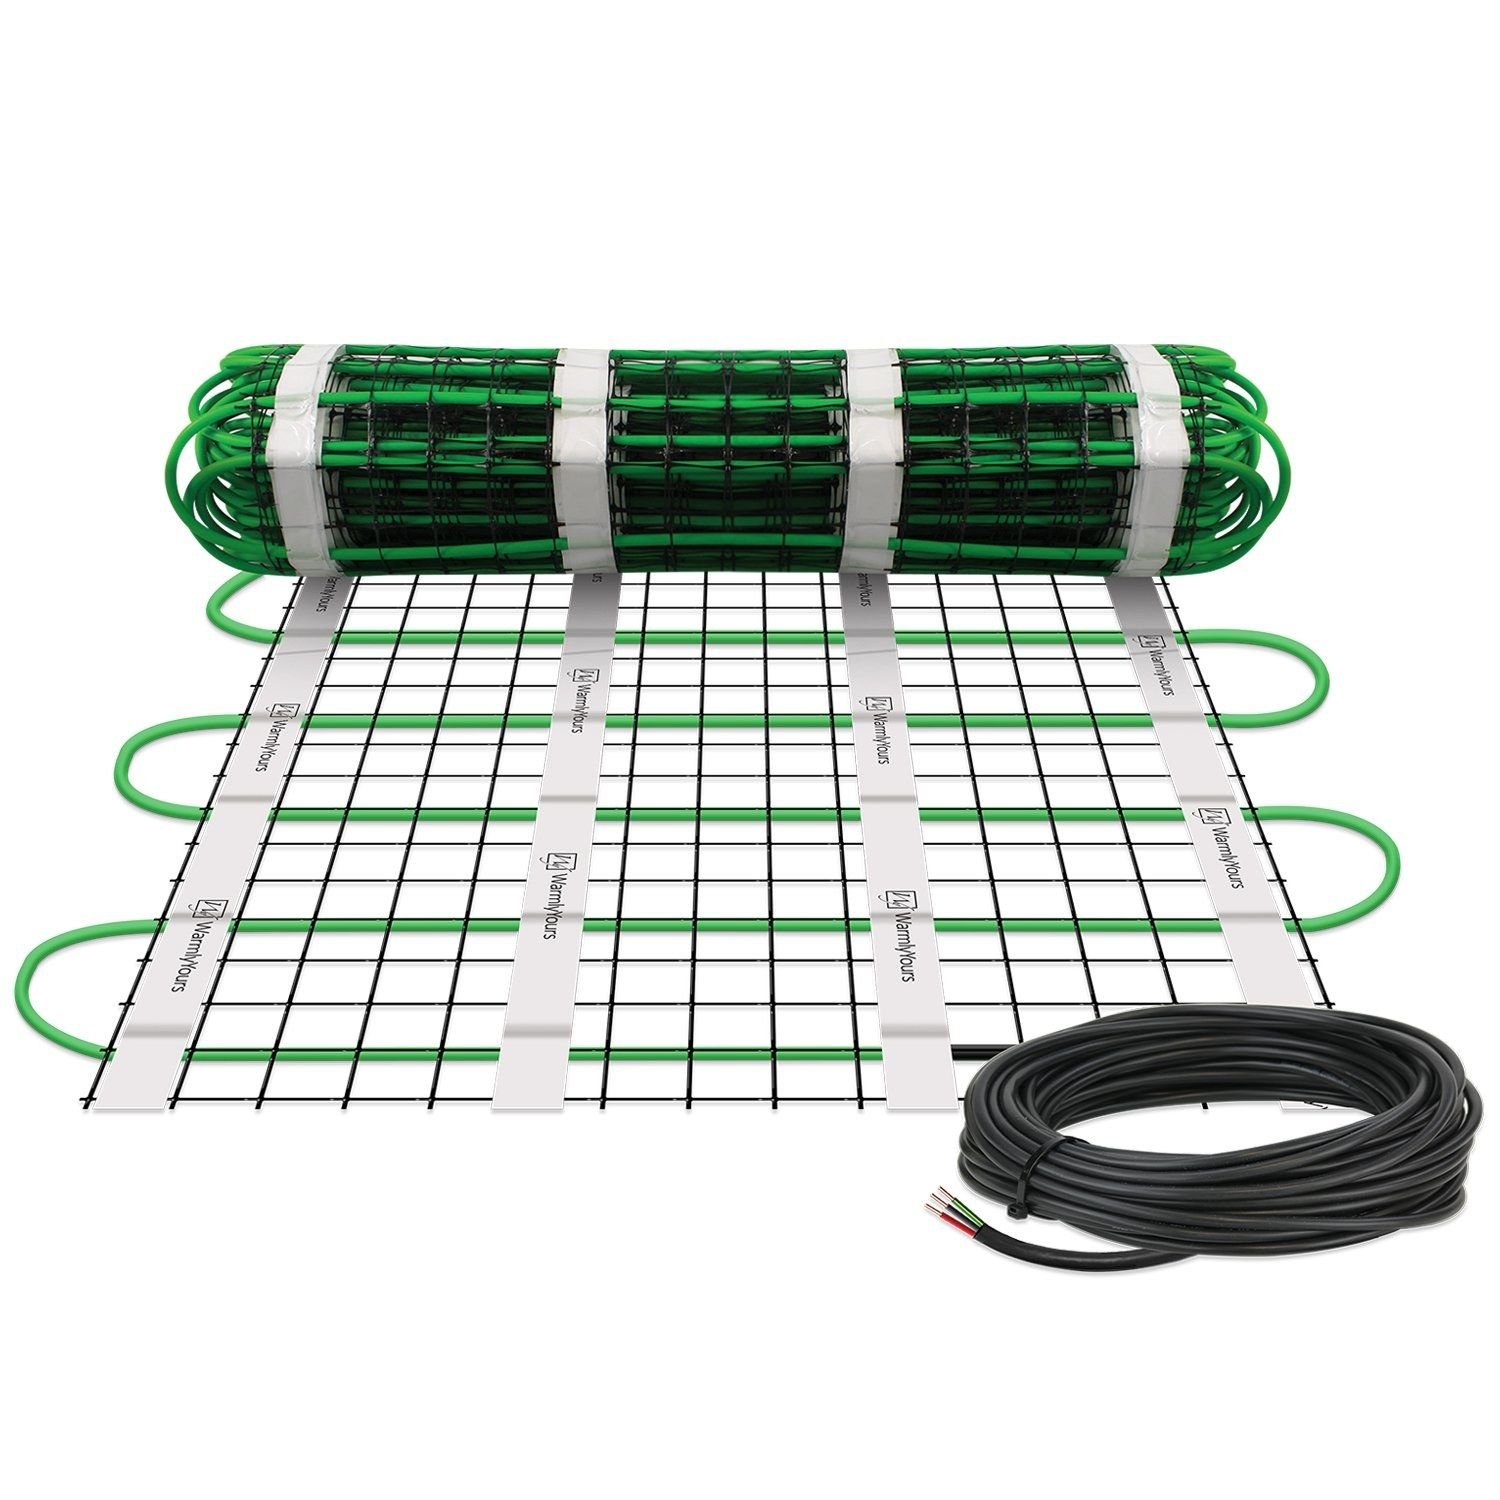
Snow Melting Mat
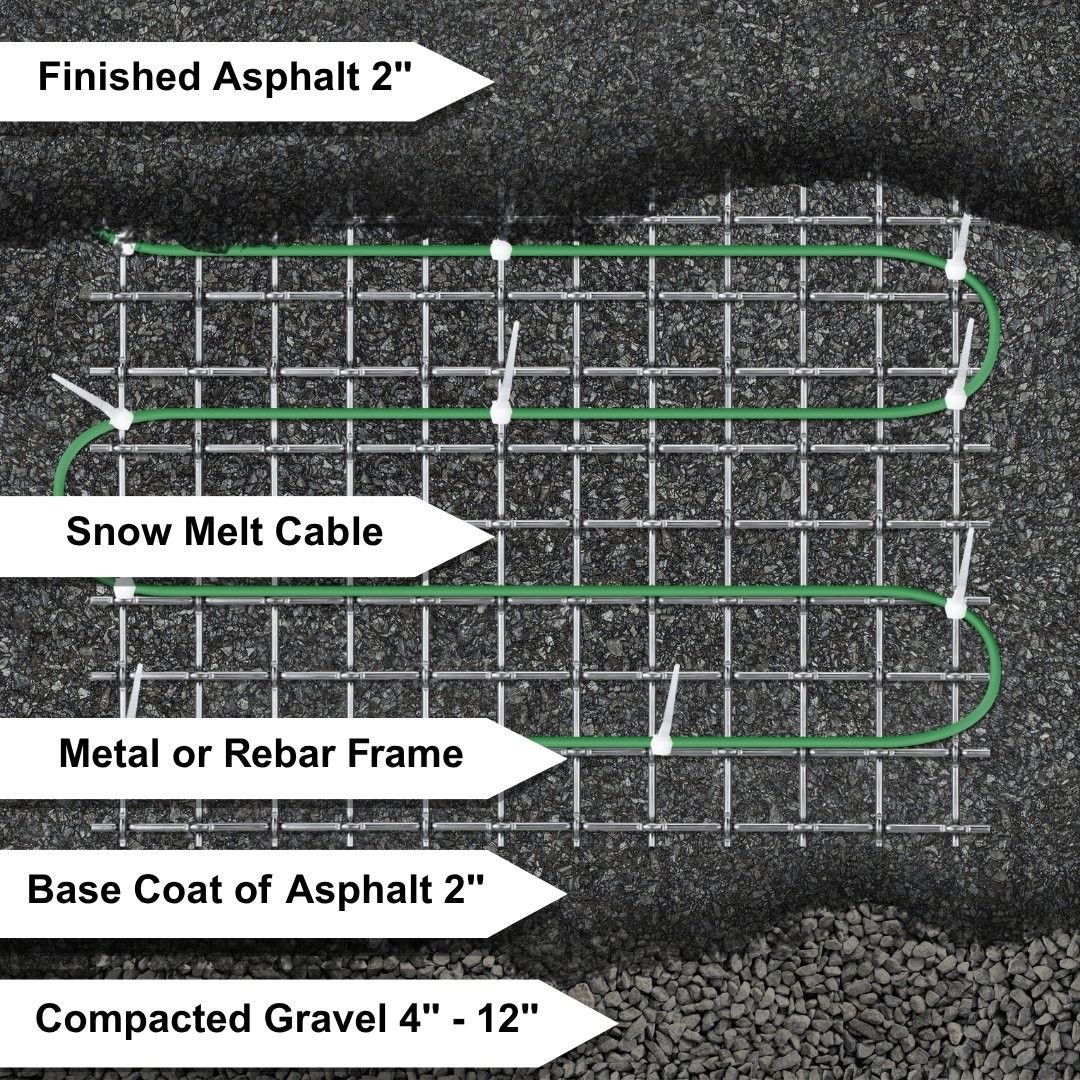
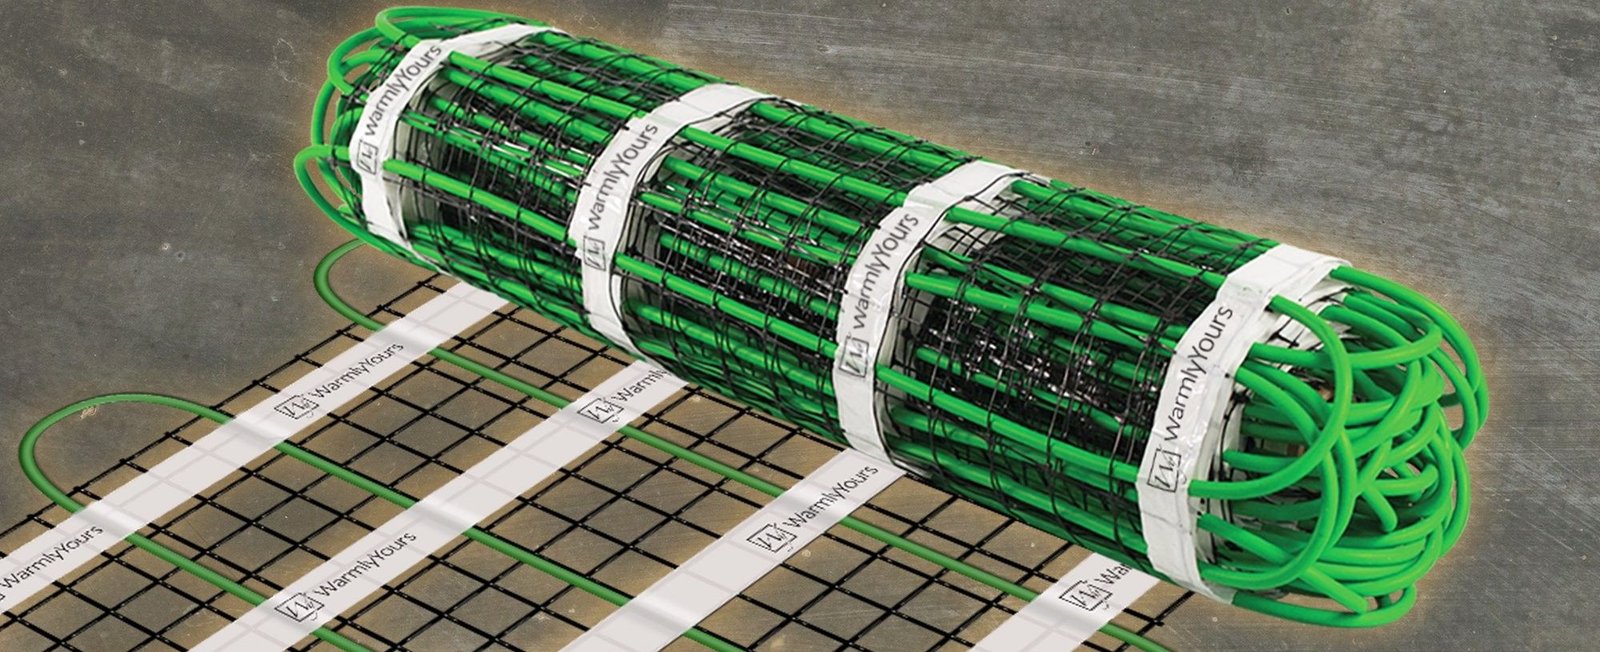
Heating cable pre-spaced on a mesh and rolled out across open areas such as driveways, walkways and patios, in asphalt, concrete or beneath pavers.
Heating cable
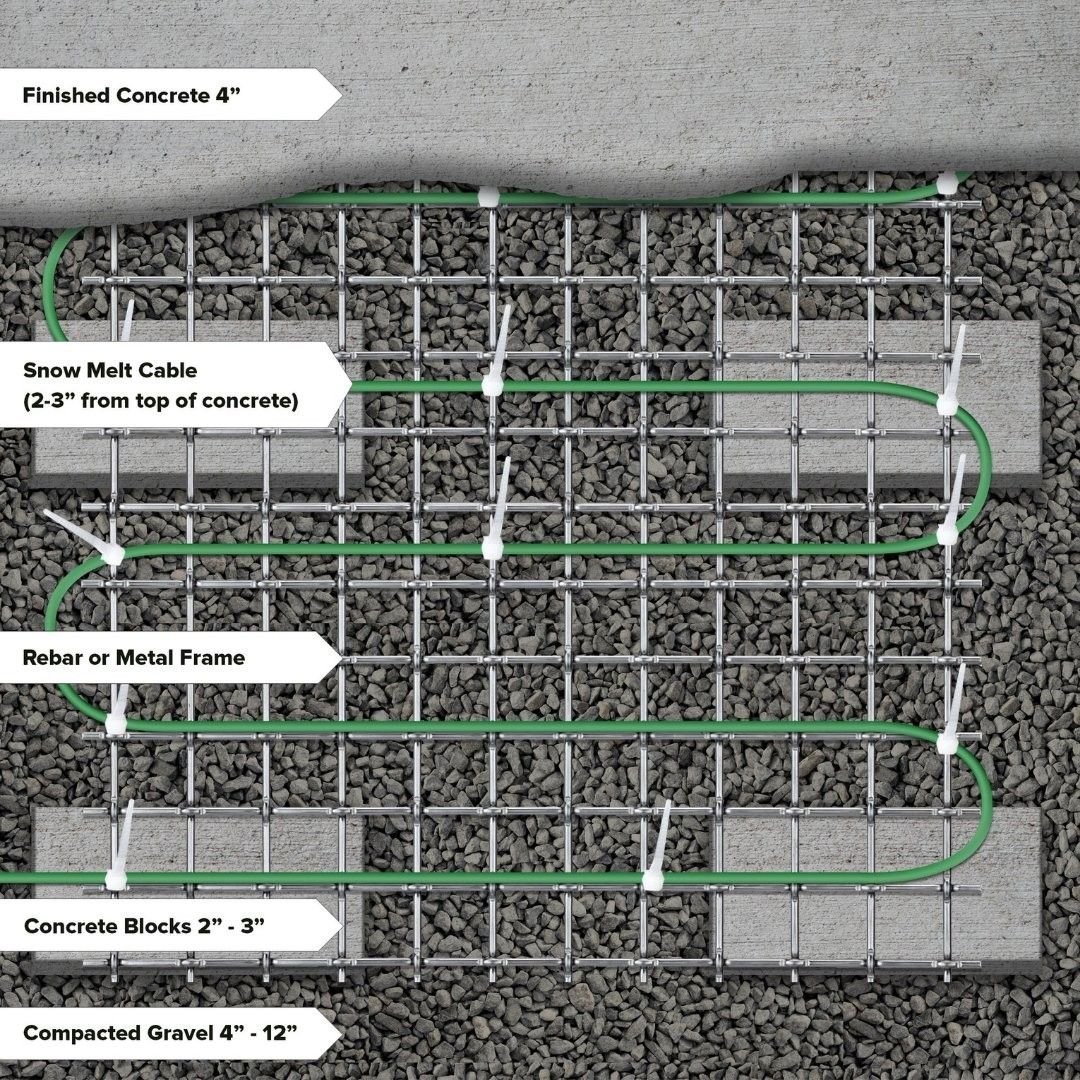
Snow Melting Cable
Flexible cable for unusual shapes, curves and stairways. It can be laid at different spacings, so the design can raise or lower the heat output for the area.
02
Sensing and control
Decides when the heat runs
System controls
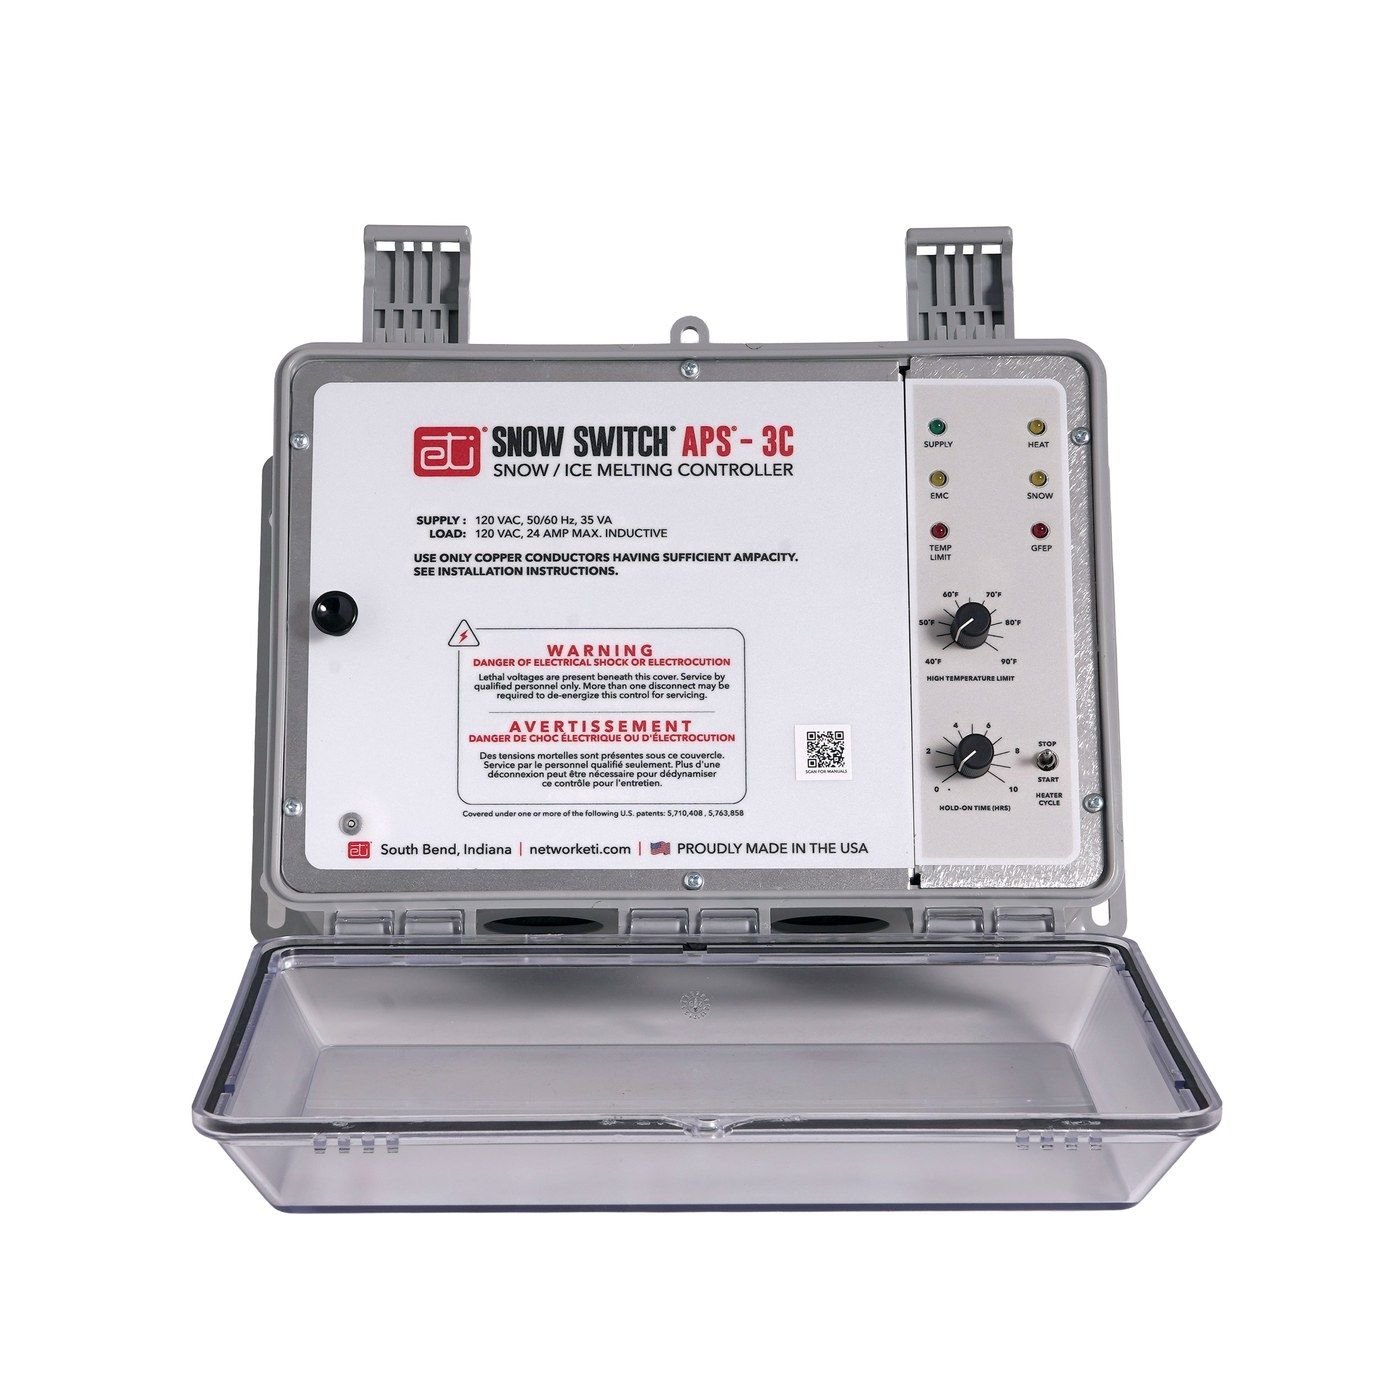
Controls
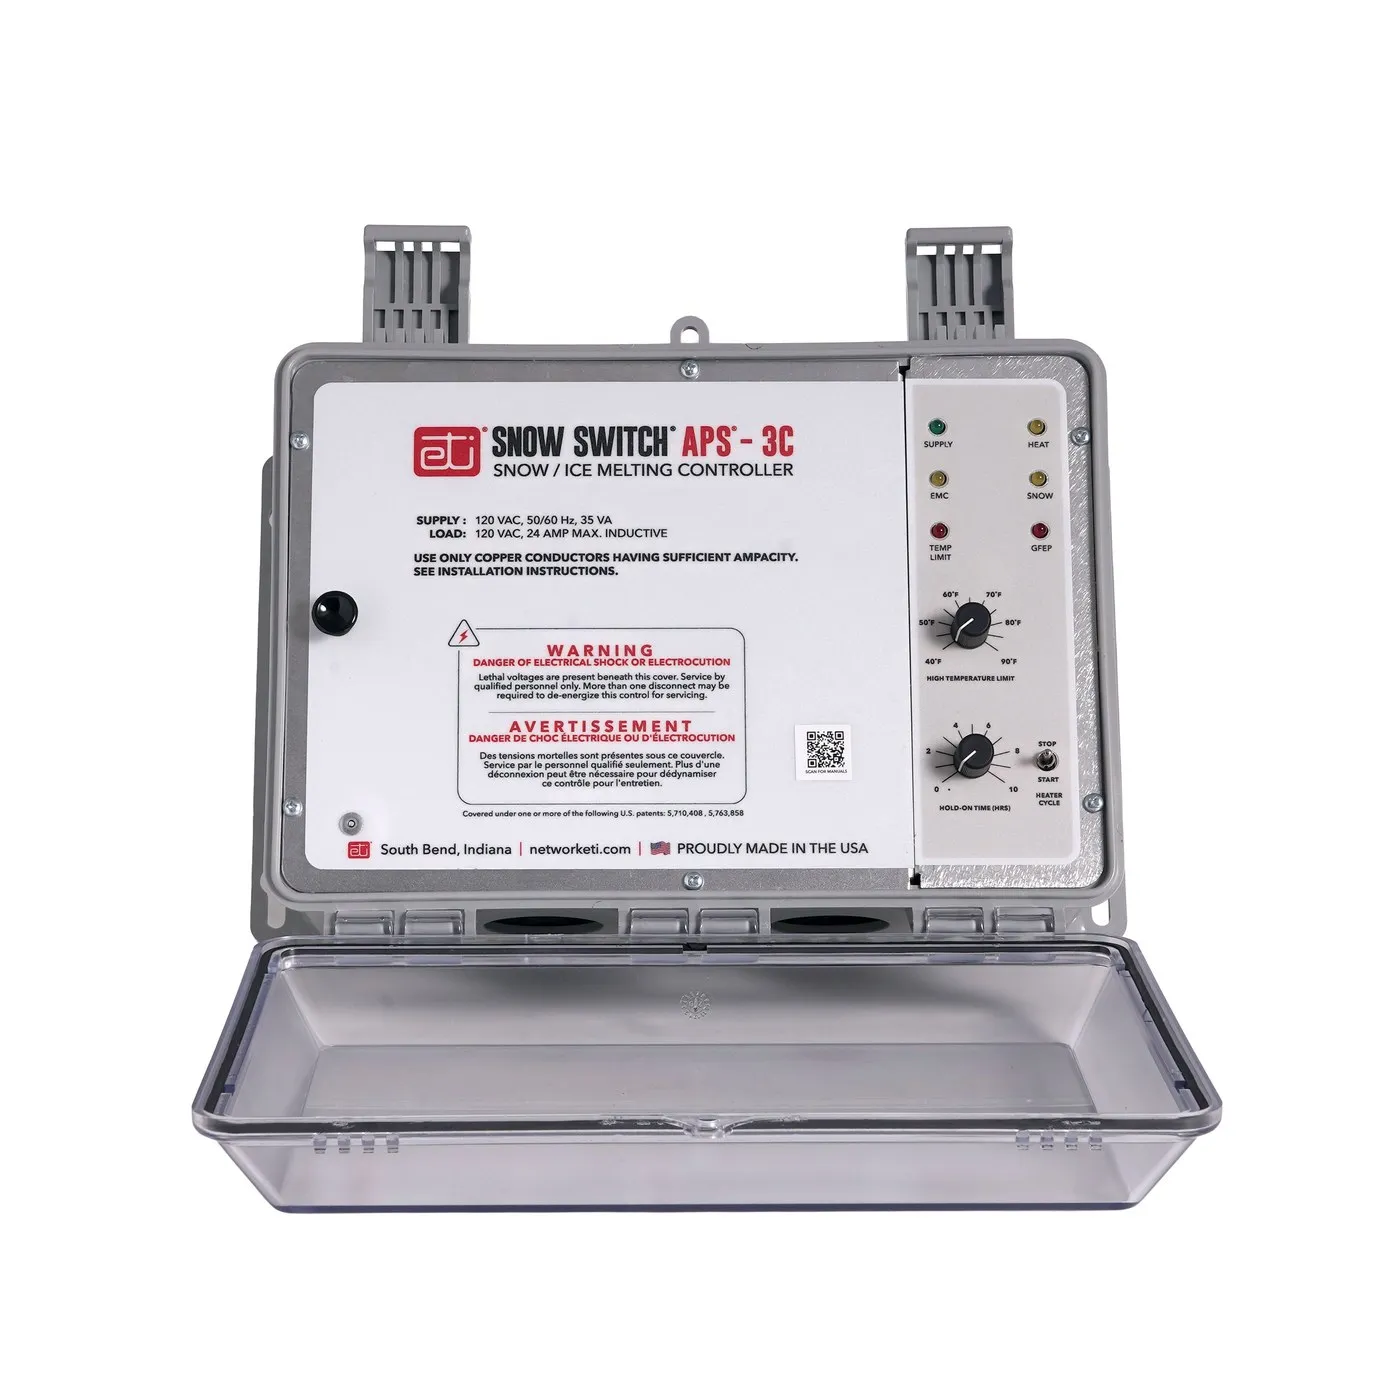
Automatic controls with sensors, timer controls and Wi-Fi options. Your design chooses the approach that suits how you use the property.
System sensors
Sensors
Slab and aerial sensors detect temperature and moisture, so the system runs when snow or ice is forming rather than all winter.
Image: WarmlyYours. Heating technology, controls and sensors from WarmlyYours.
From your first message to a clear driveway, we coordinate each step.
01
Tell us about your property
Share the project type, surface, size and any photos or plans.
02
Project assessment
We review your property, surfaces and goals.
03
System design
Professional, manufacturer-supported design of the heating layout and controls.
04
Installation coordination
We coordinate the electrician and surface trades your project needs.
05
Testing and commissioning
The system is tested and commissioned before you rely on it.
06
Clear surfaces
Snow and ice melt where you chose to heat.
What determines the cost of a heated driveway?
The cost depends on the size of the area you heat, how much of it you cover, the surface, the electrical work, the controls and the site's construction conditions. Every property is different, so we do not publish fixed installation prices. A free design and estimate gives you a number for your project.
More area means more heating elements, more power and more installation work.
Coverage
Full coverage, tire tracks or targeted areas heat different amounts of surface.
Surface
Asphalt, concrete and pavers are built differently, which shapes the system and the installation approach.
Electrical requirements
Available power, panel capacity and the distance to the driveway all affect the electrical work.
Controls
Sensors and control options change what the system needs and how it runs.
Construction conditions
New build or replacement, access, base preparation and site conditions all play a part.
Engineered below. Invisible above.
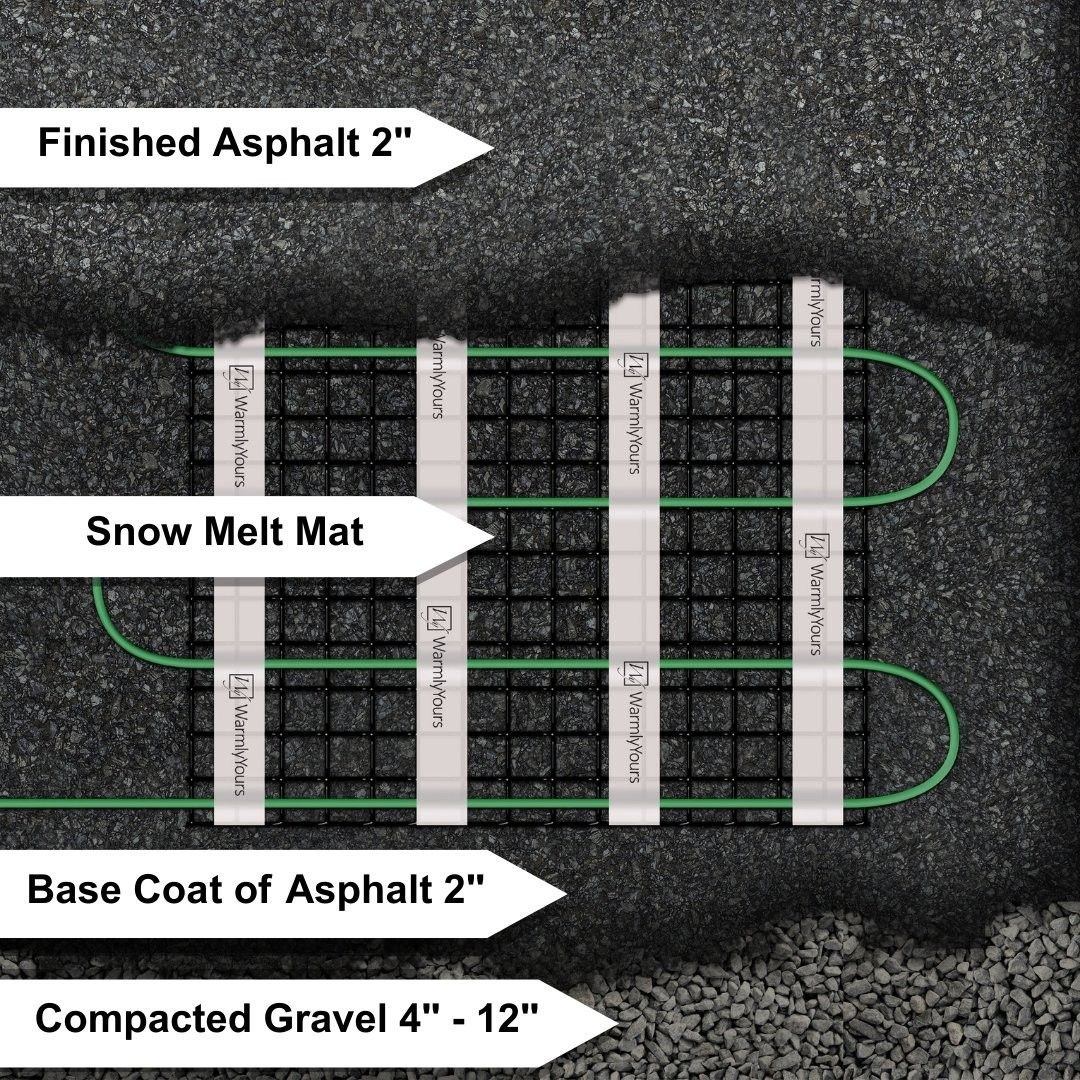
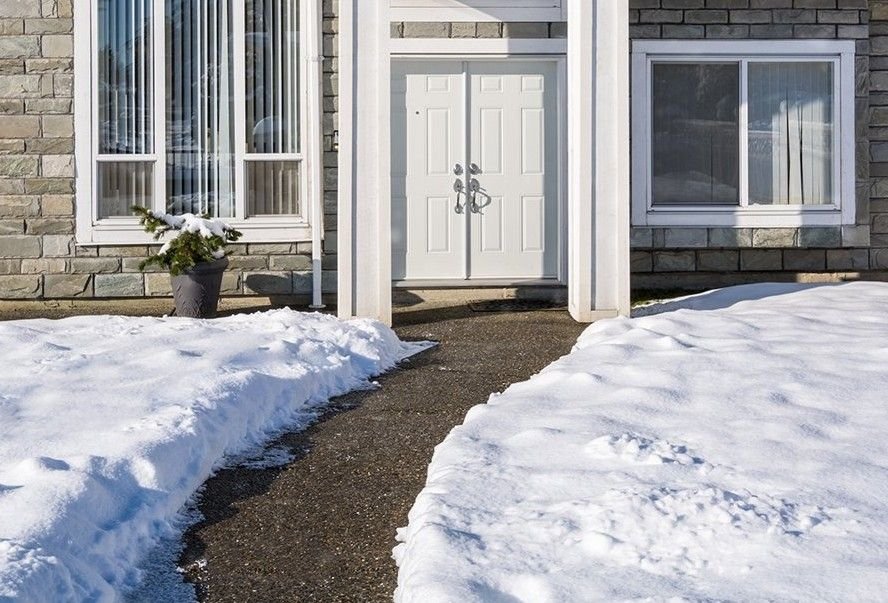
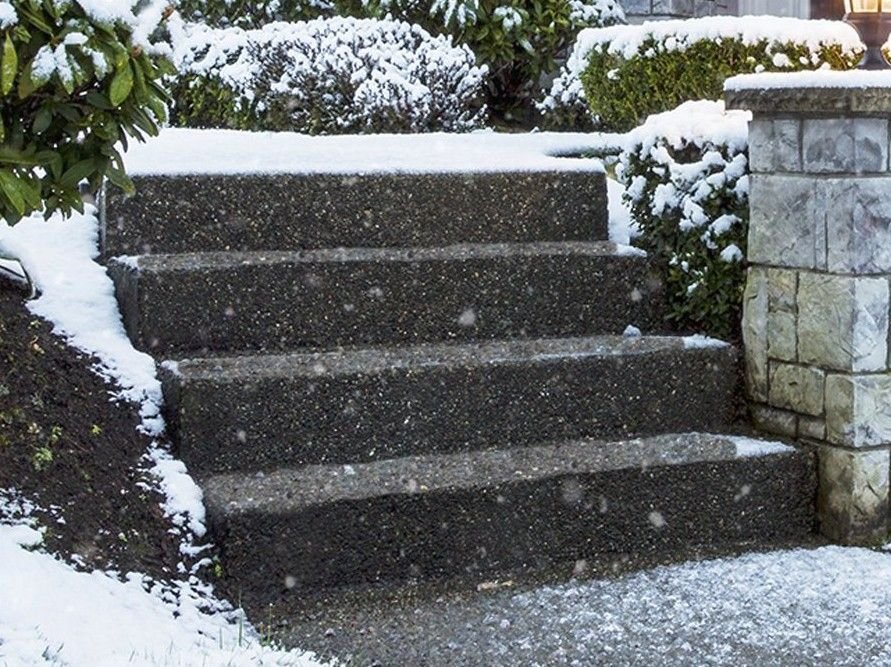
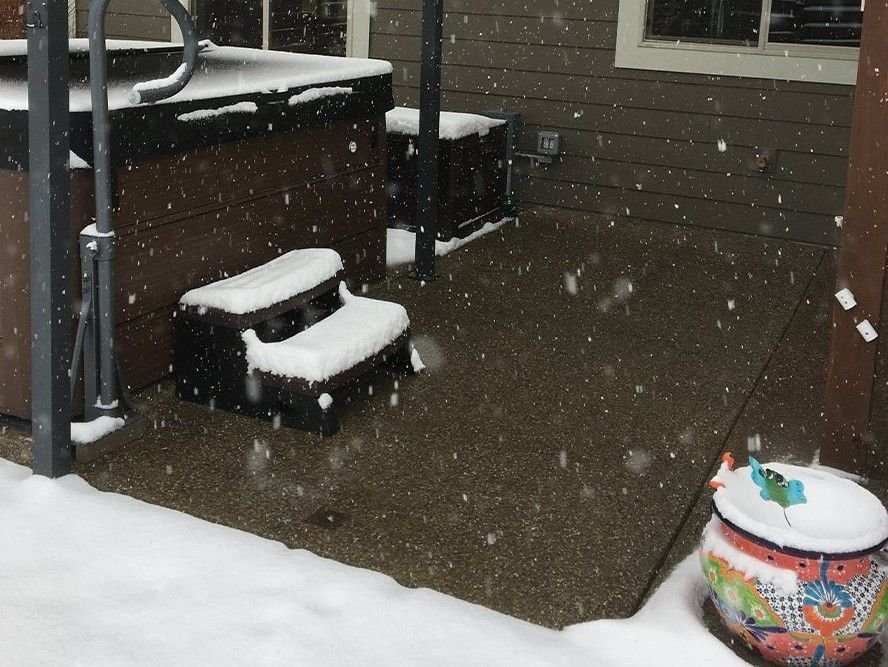
Once installed, the snow-melting system remains hidden beneath the finished surface, while sensors and controls manage operation based on outdoor conditions.
Manufacturer examples from WarmlyYours. These are not MeltGrid installations.
Image: WarmlyYours
Why MeltGrid
We coordinate the design, the technology and the trades, so you are not managing each piece yourself.
01
One point of contact
MeltGrid coordinates the snow-melting system, manufacturer-supported design and the installation trades your project needs, through one project relationship.
02
Manufacturer-backed system design
Projects are developed around WarmlyYours snow-melting technology, with access to manufacturer technical and design support.
03
Built around your project
Surface, coverage, controls, electrical requirements and construction conditions are considered together, rather than treating every property as the same installation.
Canadian and Ontario focus
Built around Canadian winters and construction, starting in Ontario and the GTA.
Residential and commercial
From a single driveway to entrances, ramps and walkways across a commercial property.
Technical support
Manufacturer technical support is available to the project team.
Bring snow melting to your next project.
Asphalt, concrete, interlock, electrical and construction professionals can work with MeltGrid to add snow-melting systems to their projects without taking on the system design themselves.
Short answers first. For anything specific to your property, ask us and we will look at it in your design.
How does a heated driveway work?
A heated driveway uses electric heating elements, either cables or mats, installed in or beneath the driveway surface. A control system with a sensor turns the system on when it detects snow or ice conditions. The heat warms the surface so snow melts instead of building up, and the meltwater drains away.
The exact design depends on your surface (asphalt, concrete or pavers), the area you want to heat and the controls you choose.
Does the system turn on automatically?
It can. With automatic controls and a snow and ice sensor, the system starts when conditions call for it and nobody has to switch anything on. Systems can also run on a timer or be switched on manually.
During your design we help you choose the control approach that suits how you use the property.
Can snow melting be installed under an asphalt driveway?
Yes. The heating elements are placed within the asphalt layers as the driveway is paved, which makes a new or replaced driveway the simplest case. The manufacturer’s installation manual also covers cutting grooves into finished asphalt for heating cable, so an existing driveway may be an option.
The paving contractor and a qualified electrician coordinate the work to your design.
Can snow melting be installed under concrete?
Yes. In new concrete, the heating cable or mats are fixed to a frame near the top of the slab before the finished layer is poured, so the system is planned alongside the pour.
Over an existing slab, the manufacturer’s manual describes adding a new layer of concrete over the heating, or cutting grooves into the finished concrete for cable. Your design confirms which suits your project.
Can snow melting be installed under pavers or interlock?
Yes. Heating is installed beneath the pavers as part of the base build-up, before the surface is laid. The finished driveway is your choice of paver.
The interlock contractor and an electrician coordinate the work to the design.
Do I need to heat the whole driveway?
No. Options include full coverage, heated tire tracks, heated entrance and apron areas, or targeted areas such as steps and walkways. Heating less area generally means less material to install and less power to run.
The right choice depends on your driveway, your budget and how you use it. Your design compares the options.
How much electricity does a heated driveway use?
It depends on the size of the heated area, the power rating of the system, the controls and how long the system runs. Systems with sensors run when conditions call for it, not all winter.
We do not publish a single operating-cost figure because it varies by design and by your electricity rates. Your design specifies the system’s electrical load so you know what to expect.
When is the best time to install snow melting?
Snow-melting systems are installed as part of building or rebuilding a surface, so installation follows the construction schedule for your asphalt, concrete or interlock work.
Winter is a good time to plan: design, quotation and scheduling can be done before the work begins.
Can an existing driveway be retrofitted?
Often, yes. The manufacturer’s installation manual includes methods for existing surfaces: heating cable set into cut grooves in finished asphalt or concrete, or a new layer of concrete over heating cable on an existing slab.
Which method suits your driveway depends on its condition and construction, so an assessment confirms the options.
Your next snowfall could be different.
Tell us about your property. We come back with a design and an estimate.